
As further explained in my Twixtor-AMV-guide, motion interpolation introduces so called Twixtor artifacts in the case that the motion of a scene could not be successfully replicated. In practice for anime footage this means that pretty much every single scene will have some sort of unwanted distortion and blending issues after interpolation, which in a lot of cases can ruin the whole impression of the scene.
This means that, ever since making AMVs, starting with Into The Labyrinth, a big fraction of the work went into minimizing the impact of these artifacts regarding the viewing experience. It is a very fine line to tread, as noticeable Twixtor artifacts can ruin the whole impression of a scene and sometimes even the whole video, but over-committing to remove every artifact can lead to an impossible amount of work per scene. I have to do some compromises and invest in creative effort to make it humanly possible that Twixtor artifacts go by unnoticed.
In this post I want to break down some of the common efforts that I usually go through before I can publish a video with good conscience.
1 Scene selection cherry picking
When selecting scenes for my video timeline, I already work in After Effects. New scenes that I consider to put in will always be Twixtor-enabled immediately after putting them in the timeline. This makes it quickly obvious how difficult the scene is for Twixtor. I can immediately see what kind of artifacts it produces and then decide whether it will be viable to fix it later or whether I should give up on using this scene.
With increasing experience I developed an intuitive feel of how well Twixtor can handle scenes when I just look at them, so this process got more and more efficient with every new video I made.
This aspect is also my main reason for always putting together the timeline for my video in After Effects rather than a better suited tool like Premiere. The ability to see the quality of the motion interpolation right from the start is essential for my editing workflow.
2 Time remapping cherry picking
I edit all my scenes through the use of time remapping in AE. This means that, right after putting the scene in, I will immediately turn on time remapping and rather adjust the time remapping keyframes to fine-tune the cut of the scene. More complex speed ramps are also very common for me.
What I then use is the fact that sometimes Twixtor only produces bad artifacts at certain points/frames of the scene. By adjusting the speed curve or the cut, I can then choose to put the majority of the scene-playback on those parts where Twixtor doesn’t produce bad artifacts.
A very prominent example for this are the first slow-motion scenes in “Into The Labyrinth” after the drop. Here, the slow motion is mostly the interpolation between only two adjacent frames. The frames that were chosen were almost always chosen only for the reason that those were the frames where Twixtor worked the best out of the whole clip.

Here you can maybe make out that the mouth gets distorted as it partly goes off-screen. I purposefully adjusted the time-remapping keyframes such that this part will not be part of the slow-motion but rather be played back rather quickly. If I remember correctly I may have also increased the relative speed for only these 2 frames for that purpose.
3 Motion Blur
There’s an effect called CC Force Motion Blur that comes with AE that uses fractions of frames to compute motion blur for any underlying animation. Given that Twixtor indeed outputs fractions of frames accordingly, this can be used to very easily enable motion blur.
Motion blur is often very effective in hiding certain interpolation artifacts, so I use it on pretty much every scene with Twixtor. Be aware that this increases my Twixtor-only render time for my project by a factor of 8-32 (depending on the amount of motion blur samples I use). Many people ask me how it can be that my video renders for 30 hours and this is how. Twixtor Pro with 3 motion layers + 32 samples of motion blur can take as much as minutes per frame.
Motion blur in effect
I explained a lot more about the use of CC Force motion blur and the concept of fractions of frames in my Twixtor guide, so be sure to read that if you’re interested.
4 Hiding with FX
A very effective method for removing artifacts from the consciousness of the viewer is the use of video FX to either paint over, blend with, or distract from Twixtor artifacts. Of course these options work best if the effects you use are in line with the video’s concept and go well with other effects you might work with.
I will give the respective examples from all my AMVs till now:
- Back when Into the Labyrinth (ITL) came out, I was lucky that nobody was familiar with Twixtor artifacts yet, so It was quite easy to get away with some horrible artifacts, as people didn’t really recognize them yet and probably thought most of them were part of my effects roster.
Looking back, the overall interpolation of ITL is horrible, but luckily the video itself is not very sensitive in this regard.
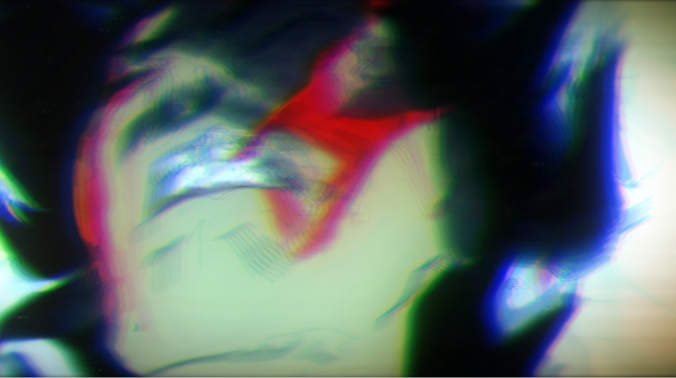
However, I still purposefully employed FX to hide them as much as I then was prepared to bear. Due to the song, the use of glitch effects was pretty obvious. In this case, I used multiple layers of variations of the “Twitch” plugin, resulting in screen shakes and RGB shifts, modulated by stretched fractal noise instances, combined with distortions, wiggling vignettes and more.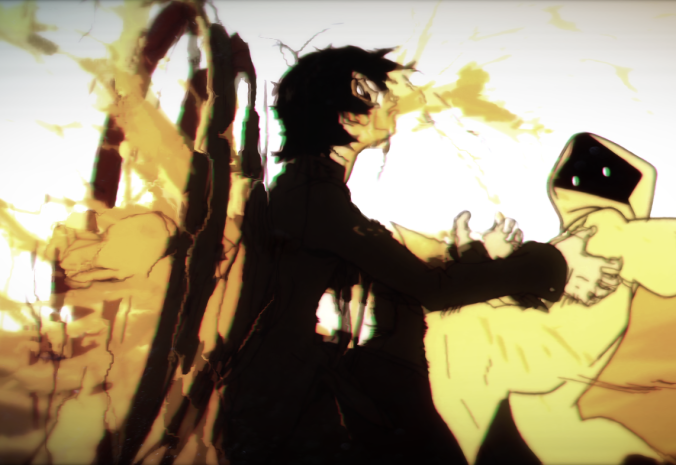
Artifacts
Artifacts + Twitch + Distortions
- Tan(x) is a very delicate and sensual video, so aggressive measures to mix with Twixtor like in ITL were not advisable anymore. Instead, I utilized the alienating nature of some of the song’s themes and it’s overall sound in the concept of the video, which encourages the use of alienating effects. I used a lot of instances of cookie-cutter-style masks and displacements in sync with some of the song’s weirder rhythms, purposefully imitating what Twixtor sometimes might do by itself. This also resulted in some intriguing imagery which I quite like to this day.

Not an artifact, this is on purpose
Motion blur + distortion + overlays
Another effect I utilized in this video was the use of dazzling brightness, which was also able to disguise some artifacts as focus shifts away from darker areas.

Here the smoke artifacts are disguised by the dazzling light, which also syncs very fittingly to the song

same here for the hand
For the first time, I also tried to use some fake depth of field effects (a simple blur) to hide some artifacts as well:

Finally, there were also cases where I put in some elements that imitate the movement of some badly interpolated parts in the scene to give the impression that the animation is smooth despite Twixtor being unable to make it so. I used this mostly on objects where the movement of the element was especially important, so highlighting them made sense.

Here I added a flare to the tear drop to disguise the bad interpolation of this element
same here for the gun (btw this scene runs backwards)
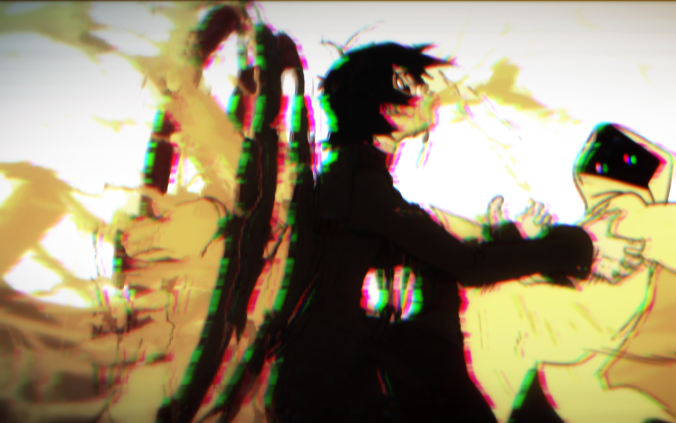
- GEHIRNSTURMEN was very easy in the regard of Twixtor artifacts. In fact, for this video I initially didn’t even use Twixtor at all since the sync to the shrill melody with it’s static tones didn’t leave many options for smooth video playback. Later during the making of the video though, I changed the whole project to put Twixtor in at every scene, edited the overarching melody-sync that dominated the time-remapping of every clip and put a oscillating modulation on top of it, which sub-consciously induces a unsettling impression. But there was no need anymore to compensate for Twixtor artifacts, as the frantic editing and time-remapping were so dominating that sometimes even whole scenes could go by unnoticed due to the chaotic nature of the video. Another part of the concept as well was to purposefully discard some rules of aesthetics as well, so leaving Twixtor artifacts in on purpose seemed very natural to me.
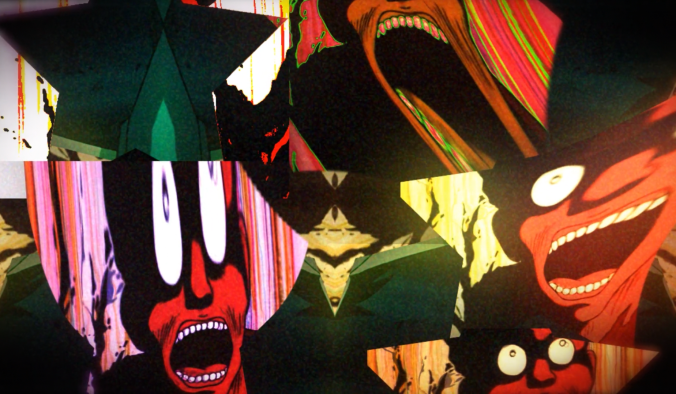
Spot the artifacts
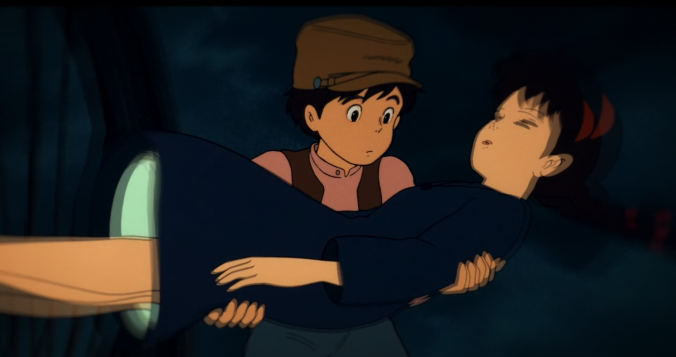
So in the end, I think the only scene where I actively minimized artifacts was the scene were this girl was crushed, as it was such a pivotal point in the video and the smoothness really helped illustrate the brutality of the moment.
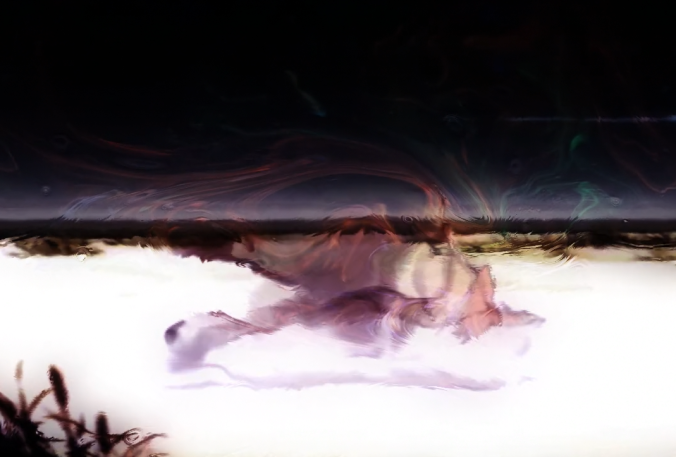
- Finally, Ghost Audition was a video where I was probably afraid for 6 months straight that there would be no way to make the video look clean enough for my aspiration to create a very emotional and sensual video in spite of some very very difficult scenes for Twixtor, as Ghibli likes to use very complicated animation. Later though, I started to sync some kinetic effects to the percussions, using some lens distortions and blending multiple distorted layers on top of each other. It might not have been the best fit for the job, but it was very effective in blending with Twixtor artifacts. I turned them down a lot later when I put in other measures to compensate for artifacts.
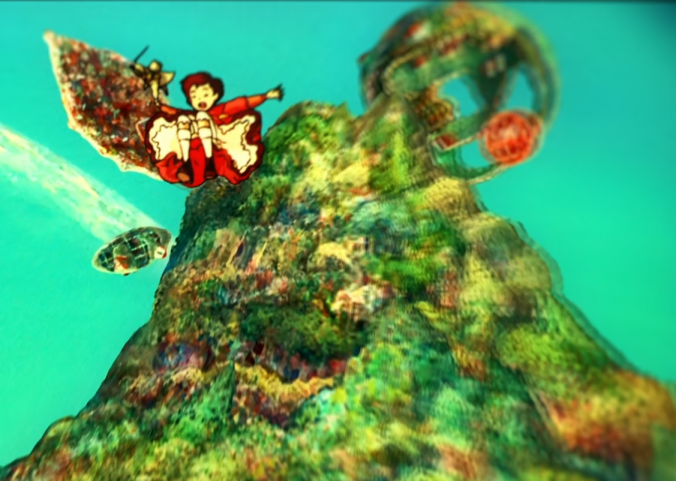
The warping on the right are FX, the warping on the girl are artifacts
To be honest I myself am not sure what’s actually artifacts and what’s FX here

The relationship of FX and artifacts is very intimate here
With depth of field effects I introduced myself to another method of dynamically controlling the noticability of artifacts (I will probably go into this in a later post as well, so I’ll refrain myself from going into the details). It’s a more elaborate version of what I also did in tan(x) with blur effects.
Essentially, after I made a depth map for a scene, I could use the effect “camera lens blur” to freely shift focus within the scene. This meant that I could very dynamically control what parts of the screen are in focus, and which aren’t, all while remaining physically plausible since every depth transformed the same. This meant that artifacts which were visible only for a handful of frames could easily be hidden by shifting the focus away for a handful of frames. This not only hid the artifacts, but also helped the video’s dynamics and made the visuals feel more organic and alive, which fit into the concept. The only downside though was that preparing the depth maps could sometimes be pretty work-intensive. Luckily, bad quality depth maps are pretty forgiving in my experience.
Focus shifts from the face to the balcony as the 3-dimensional rotation of the hat confuses Twixtor

This was a very difficult scene that I could not leave out. So I heavily used depth of field to hide as much as possible. You can also see that the lens flare is purposefully put very close to the character
The depth map for this scene was created from motion guidance masks that I used to help Twixtor interpolation as well.
And here’s another case of using a bright masked object and a lens flare to give more focus to the movement and distract from sloppy interpolation.
5 Actually removing artifacts lol
For actually removing artifacts I pretty much talked about everything already in my Twixtor guide.
What I instead want to highlight here by putting this point last, is that this is always the very last step I will do for a given video. Actually removing artifacts is probably the most work intensive step of everything listed in this post. If I started to remove all of them before putting any effects to try to hide them beforehand, it would imply that I actually try to remove every single artifact in the whole video. If I only then put in the video FX, their effect of also hiding artifacts becomes redundant. Everything they might’ve covered I already put too much work in by removing the artifacts by hand.
So I instead remove only those artifacts that are left noticeable after all steps listed above. Removing artifacts is actually the last thing I work on before finally publishing a video.
6 Replacing objects altogether
I just noticed I did stuff like this as well, so the last point wasn’t the last point after all. Bamboozled again huh
Anyway so another thing I’ve actually used since ITL is the replication of movement by hand instead of trying to make Twixtor do what I want.

Here the cake is simply masked out and animated by hand instead of letting Twixtor do that. This greatly improves the quality of motion blur as well.
Here the leg is animated by hand (before the impact) by using the AE pin tool. It’s just a couple of frames and it works much better with motion blur than Twixtor can.
Another example of the AE pin tool. Here, the hands are animated manually. Look how beautiful the motion blur looks :3
I used the scene as reference to replicate the motion as closely as possible

Interesting points you got there. I usually follow through with points 1&2 in my videos as well, but often enough I’d start masking the artifacts even before my timeline is complete and sometimes right after finishing time remapping a certain scene. I just can’t be sure whether the scene will work in the end or not, until I see the results of artifact removal first. Maybe creatively using FX is a better way after all. Helps with not giving up on a project as well, heh.
LikeLike
yeah the difficult thing for me is that I don’t start with effects before the timeline is done as well. So I just need to believe that most of these scenes will look okay in the end despite looking horrible for most of the editing process. It’s useful for me though to think of it like “if it doesn’t work later, I can always replace it then.”
LikeLike
Thanks again, I appreciate your work
LikeLiked by 1 person
You really make it appear really easy together with your presentation but I in finding this matter to be really one thing which I feel I’d by no means understand. It seems too complex and very large for me. I am taking a look forward to your subsequent submit, I will attempt to get the hang of it!
LikeLike
You actually make it appear really easy together with your presentation but I in finding this matter to be actually one thing that I feel I would never understand. It seems too complex and extremely wide for me. I’m looking forward for your next post, I will attempt to get the hold of it!
LikeLike
You actually make it seem really easy together with your presentation however I in finding this matter to be actually something which I think I would by no means understand. It kind of feels too complicated and very large for me. I’m looking ahead on your subsequent post, I will attempt to get the hold of it!
LikeLike
Great blog right here! Additionally your web site loads up fast! What web host are you using? Can I get your associate hyperlink in your host? I wish my web site loaded up as fast as yours lol
LikeLike
Great blog here! Also your site loads up very fast! What host are you using? Can I am getting your affiliate link for your host? I want my site loaded up as fast as yours lol
LikeLike
I really like your work u doin 🙂
LikeLike